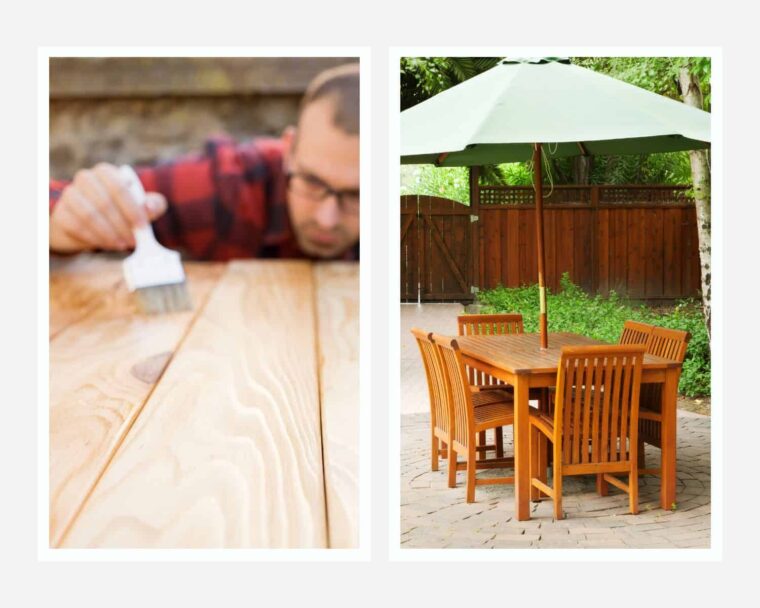
The temperatures are perfectly warm, flowers are blooming, and the air is crisp and fresh! It’s springtime, and we all want to spend some quality time outdoors. It helps to have good comfortable outdoor wood furniture on your patio or deck, which makes for a practical, stylish, and durable addition to your backyard.
Wood is a perfect choice for projects like porch swings, patio sets and tree houses. However, outdoor wood furniture needs to be protected for it to last long. Staining and sealing outdoor wood furniture is one of the ways to ensure that year after year, you are not spending more dollars buying or repairing your outdoor furniture.
What is the difference between wood sealing and wood staining?
A wood sealer is not the same as a stain, even though they are both ways of protecting wood from harmful elements. A wood sealer protects against moisture, insects, precipitation, mold, and rot. It is applied clear, which helps to show off the grain and the natural color of the wood. It prevents water absorption, thus preventing rot. A stain works just like a sealer, protecting the wood from precipitation, moisture, mold, rot, and mildew, but it has an added pigment for blocking UV rays. The sun can dry out wood’s natural oils, resulting in cracking and graying.

How to properly stain and seal outdoor furniture
Sanding
For that beautiful finish, the preparation of the wood before staining is key. Sanding helps to smooth off any rough patches, and if the wood has been painted before, a stripping knife should be used to remove the previous patches of paint. This is important because the old paint will prevent the proper penetration of the stain.
Wood prepping
All remnant sawdust from the sanding process should be removed using a soft-bristled broom or brush and then wiping off using a damp cloth. Any minor surface cracks, defects, or imperfections must be filled with a suitable wood filler, ensuring that the wood filler of choice is stainable too.

Using a pre-stain wood conditioner
Wood conditioner is not a must-have, but it helps the wood to absorb the stain more evenly, resulting in a smoother finish. o The surface of bare wood usually varies in dryness. Drier spots will turn darker after staining since they absorb more stains, which is experienced more with soft woods than with hardwoods.
Wood conditioner is, therefore, best used on softwoods, since they have a greater variance in moisture levels and tend to absorb more stain. Conditioning will help to prevent streaking and blotching on the wood surface.
After applying the pre-stain wood conditioner, let it sit for about 30 minutes before going in with the stain.
Oil-based wood conditioners must be followed with oil-based stains, and water-based wood conditioners must be followed with water-based stains.
Pick the stain of your choice
Stains are of two main types, oil-based and water-based.
Oil-based stains: They are more common, popularly used, and affordable. They create enhanced grain colors, take a bit long to dry, and have a strong smell. They are easy to apply though and give very beautiful finishes.
Water-based stains: They are more expensive but take a shorter time to dry, and are not as smelly as oil-based stains. It is a bit difficult to use water-based stain and get an even-looking smooth finish, since they dry faster. They also do not provide that rich wood color like oil-based stains do.

Test out the stain color
Different types of woods stain differently, which makes it necessary to test out the stain on a separate piece of wood before use.
Apply the wood stain
The following steps are for an oil-based stain:
- Staining should happen outside since the stain is extremely smelly. A paint respirator mask can also be worn to help with the strong smell.
- To protect the work surface, cardboard, plastic, or scrap wood can be laid down to prevent spillage of the stain onto the floor/ground.
- Chemical-resistant or rubber gloves should be worn.
- The stain should be stirred (not shaking), with a paint stir stick or plastic spoon, before use.
- A lint free cloth or rag can be used to apply the stain, making it easier to control how much is applied. Any excess stain is wiped off, but for a darker finish, the excess stain can stay on for an extra minute or so before being wiped off.
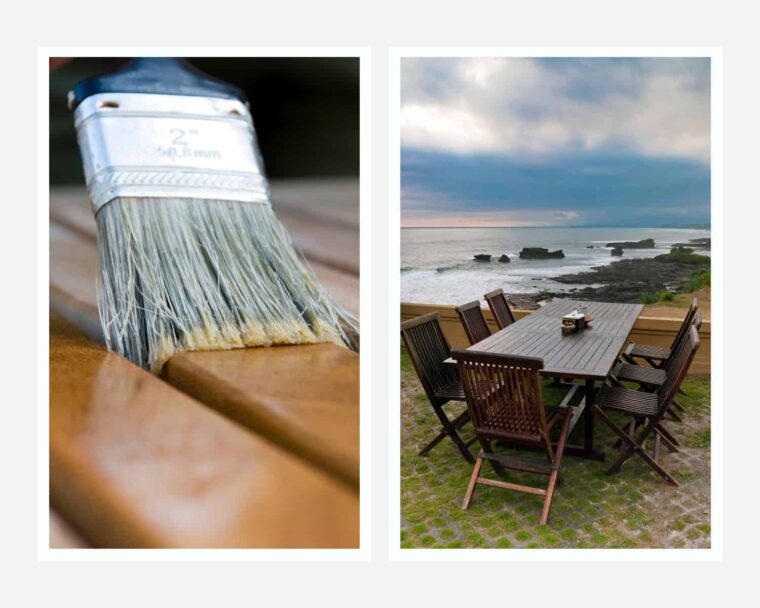
To prevent bleeding, most stains must be sealed. Stained wood should be smoothed slightly, and a sealer coat applied, e.g., sanding sealer or thinned shellac. The sealer coat can be applied using a brush, making sure to flow along the wood grain evenly. Attention must be paid to end gain, as end grain that is not properly sealed absorbs stains and finishes more than the other wood surfaces.
No outdoor wood furniture will resist issues like warping, cracking, swelling, discoloration, and even rot, as it is usually exposed to elements like rain, sun, frost, and wind. Wood staining and sealing ensure that your outdoor furniture is protected against such elements, helping to preserve the wood’s natural look and elongate its shelf life.
Finally, Be Creative!
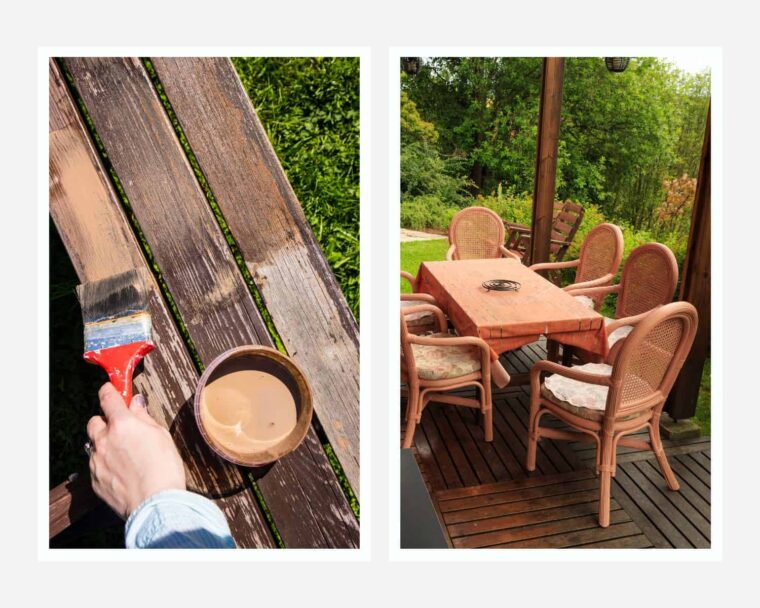
Natural looks are good. However, staining gives the perfect opportunity to add color and character to any outdoor space. Woods stains come in a range of pastel colors, like baby blues and picks, and they offer a subtle, softer look as compared to paint. Patterns are also simple to do, and the difference they make is huge!


